Hello readers, How are you all? I hope you all are doing well in your life. Today we are going to share an article with all of you and in this article, you will learn about How to find a Mac address on Windows 10. Just read this article carefully and then you can also do this. Let’s start.
Easy Ways to Find Mac Address on Windows 10

Now, Finding your MAC address is not a difficult task if you are a Windows 10 user because they made the process easy for us to do this. But it totally depends on what you want to do with the MAC address or the physical address, there are two different ways to approach.
- You have to use the command prompt if you want to copy your MAC address to the clipboard to license software or something similar.
- If you want to see your MAC address for any other reason then you do not need to use the Command prompt. Directly, you can go to the settings and see your MAC address. Try To Install Wireless drivers.
1.Use the Network Settings to find Your MAC Address
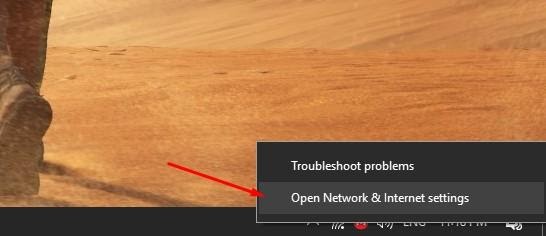
- In this process, you have to right-click on the network icon which is placed on the taskbar and then click on the “Network and Internet” settings.
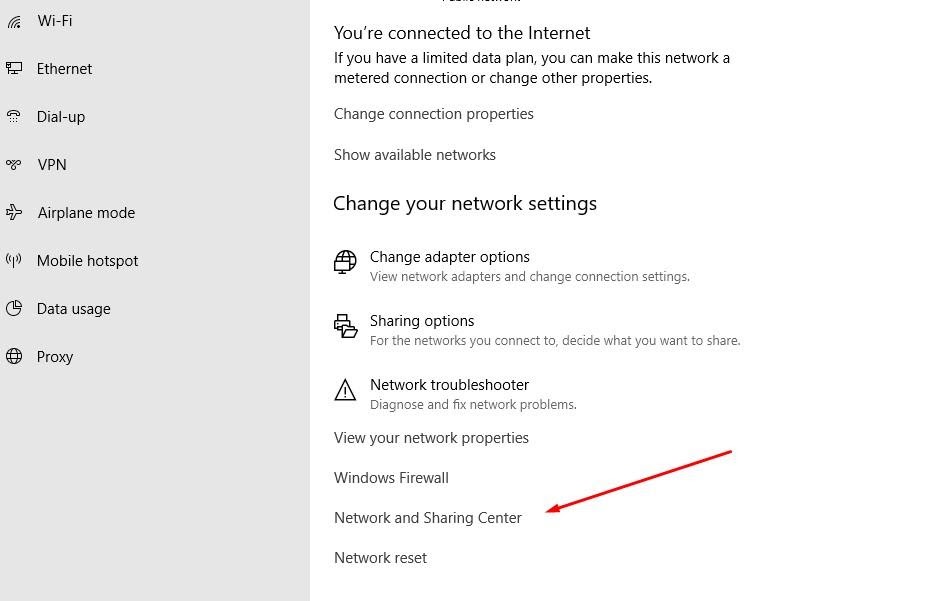
- When Settings will open on the screen then you have to find the “Network and Sharing Center” option and then click on the option.
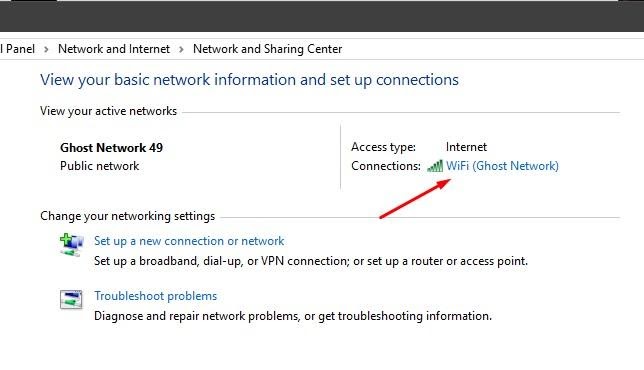
- Now, you will get an active connection just like you can see in the image below. You have to click it.
- And then, you have to click on the “Details” to see all the details on the screen.
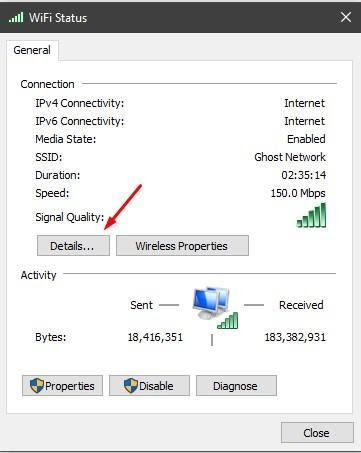
- Now, you can see how the details look like and see the physical address which you want to find.

2.Use Command Prompt to find Your MAC Address
It is not a complicated thing to use the command prompt for finding your MAC address, you only have to follow some steps which are mentioned below.
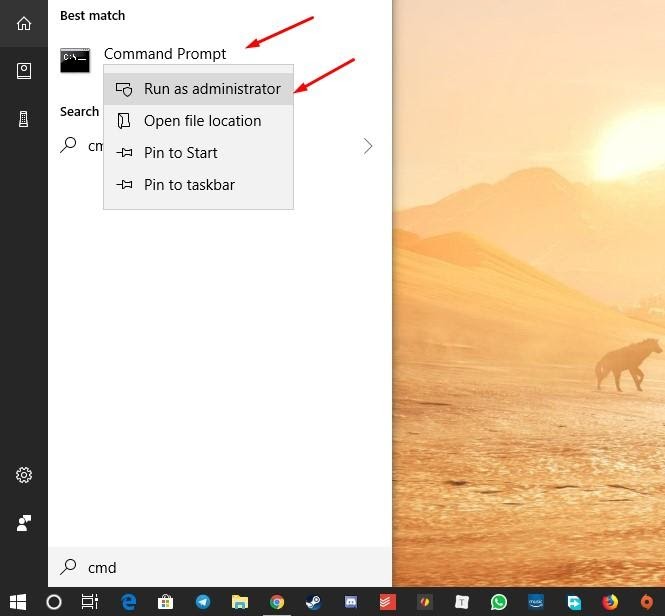
- First of all, you have to click on the Search bar and then type “cmd” to find the Command prompt.
- Now, you have to right-click on the Command prompt and then open it as an administrator by choosing the “Run as administrator” option from the options available.
- When the command prompt is launched in your computer or laptop then you have to type “ipconfig /all” along with space and then press the Enter button.
- And now, you will see a lot of information on the screen about the Windows IP configuration, Ethernet adapter details, and Wireless LAN adapter information (if any).

- If you have a wireless connection then you have to look for the physical address under the Wireless LAN adapter section and it can easily copy to the clipboard, you only have to drag and select to copy it to your clipboard. But, If you have a wired connection then you must have to look at the physical address under the Ethernet adapter section.
3.Use Control Panel to find MAC address
In this method, we are going to use the control panel to find the Physical address of a network card on Windows 10. You only have to follow these steps which are mentioned below.
- First of all, you have to open the Control Panel.
- And then, you need to click on the Network and Internet.
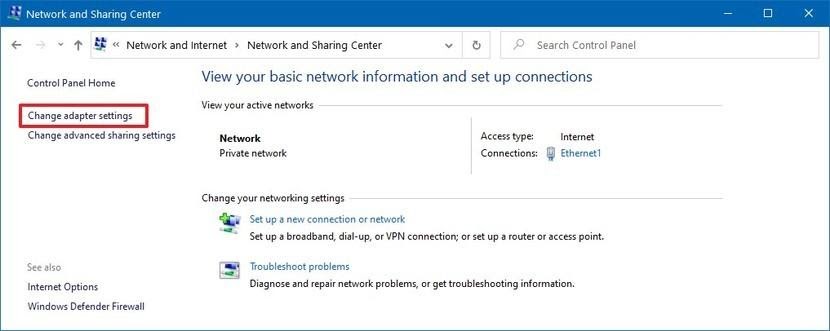
- In the next step, click on the Network and Sharing Center.

- Now, you have to click on the Change adapter settings which you can see on the left pane.
- Now, double click on the Wi-Fi adapter or Ethernet depending on your connection and then click on the Details button.

- And now, you can confirm the MAC address of the network adapter.

- If you completed these all steps, now you can see the physical address of the network card on your screen which you can use to identify a device on the router or to filter access in the network settings.
Check Also:7 Ways To Fix Windows 10 Start Menu Search Not Working
Final words: After reading this article, I hope now you know How to find mac address on windows 10 easily. The process is really very simple and anyone can check their MAC address if they know these methods. If you have any questions related to this, let me know in the comment section. Share this article with your friends who also want to find the MAC address on Windows 10. Thanks for visiting our website.